|
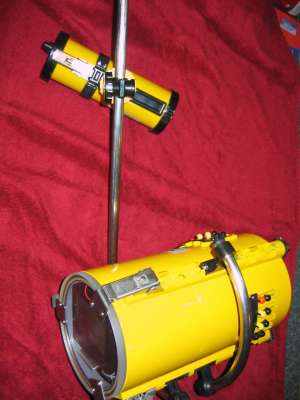
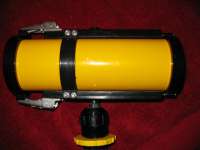
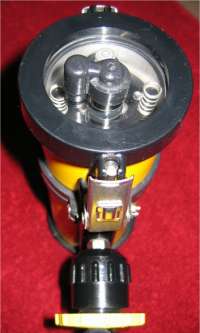
The video housing
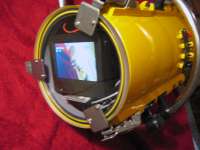
So the final housing assembly has two stainless steel handles, one of which the lamp clamps to. Inside is a Sony HC7 with a Raynox HD-5050PRO w/A lens, a 3.5" TFT monitor, the battery pack and my electronic circuit board.
The Birchley lamp is a 50w 12 volts W/A spot of the type you get buy in Homebase. It's well constructed and has a universal knuckle joint to allow for easy positioning.
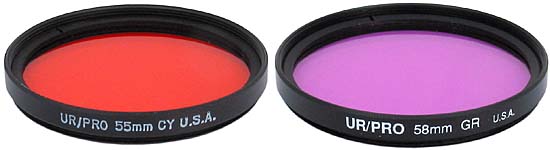
Using the housing Preparing the housing is straight forward. Assemble the camera, velcro the 12v batteries into place, connect up the wires and pop the whole lot together. I always take special care of the O rings, make sure they are clean, in position and a light coating of silicon grease. Once all is assembled I use the remote to shut down the camera and monitor into standby mode. I found that the batteries will last many dives, how many I not sure as I tend to recharge before they failed. The housing does need a little weight to make it neutrally buoyant. A couple of ankle weights hanging off the handles worked perfectly. Underwater the housing was very easy to use. The camera microphone also picked up the sound of my breathing which makes for nice effects for the DVD. The viewfinder monitor made framing really easy and when not filming I often powered down the housing to conserve battery life. I found the lamp of a mixed blessing. In darker conditions it was great. The colours were rich and the exposure perfect. In clear water where there is a lot of natural light it is of less use. It's the equivalent of using a torch in broad daylight. It does not help with exposure and adds red back to only those areas that are lit. The end result is a complete mix of colours, the centre of the picture being correct while the peripheral colours being green / blue. The camera also appeared over exposed on occasions though I suspect that the auto exposure is being thrown off because of the lack of red entering camera. Correction of colours can be done in the editing but only if the colour correction is uniformly wrong across the whole picture. A solution is to use camera colour correction filters which hopefully will also assist the auto exposure to get it right. Colour correction filters So my next step is to buy two underwater correction filters and to velcro one to the front plate of the housing. The advise I have been given by researching on the Internet and from Simon Gardener, a professional videographer in the Red Sea, is to look at the URPRO filters (http://www.urprofilters.com). There are two filters to use depending on where you are diving:
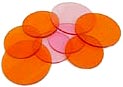
The local stockist in London is Cameras Underwater. They can also supply un mounted filters up to 120mm diameter at about £60 each.
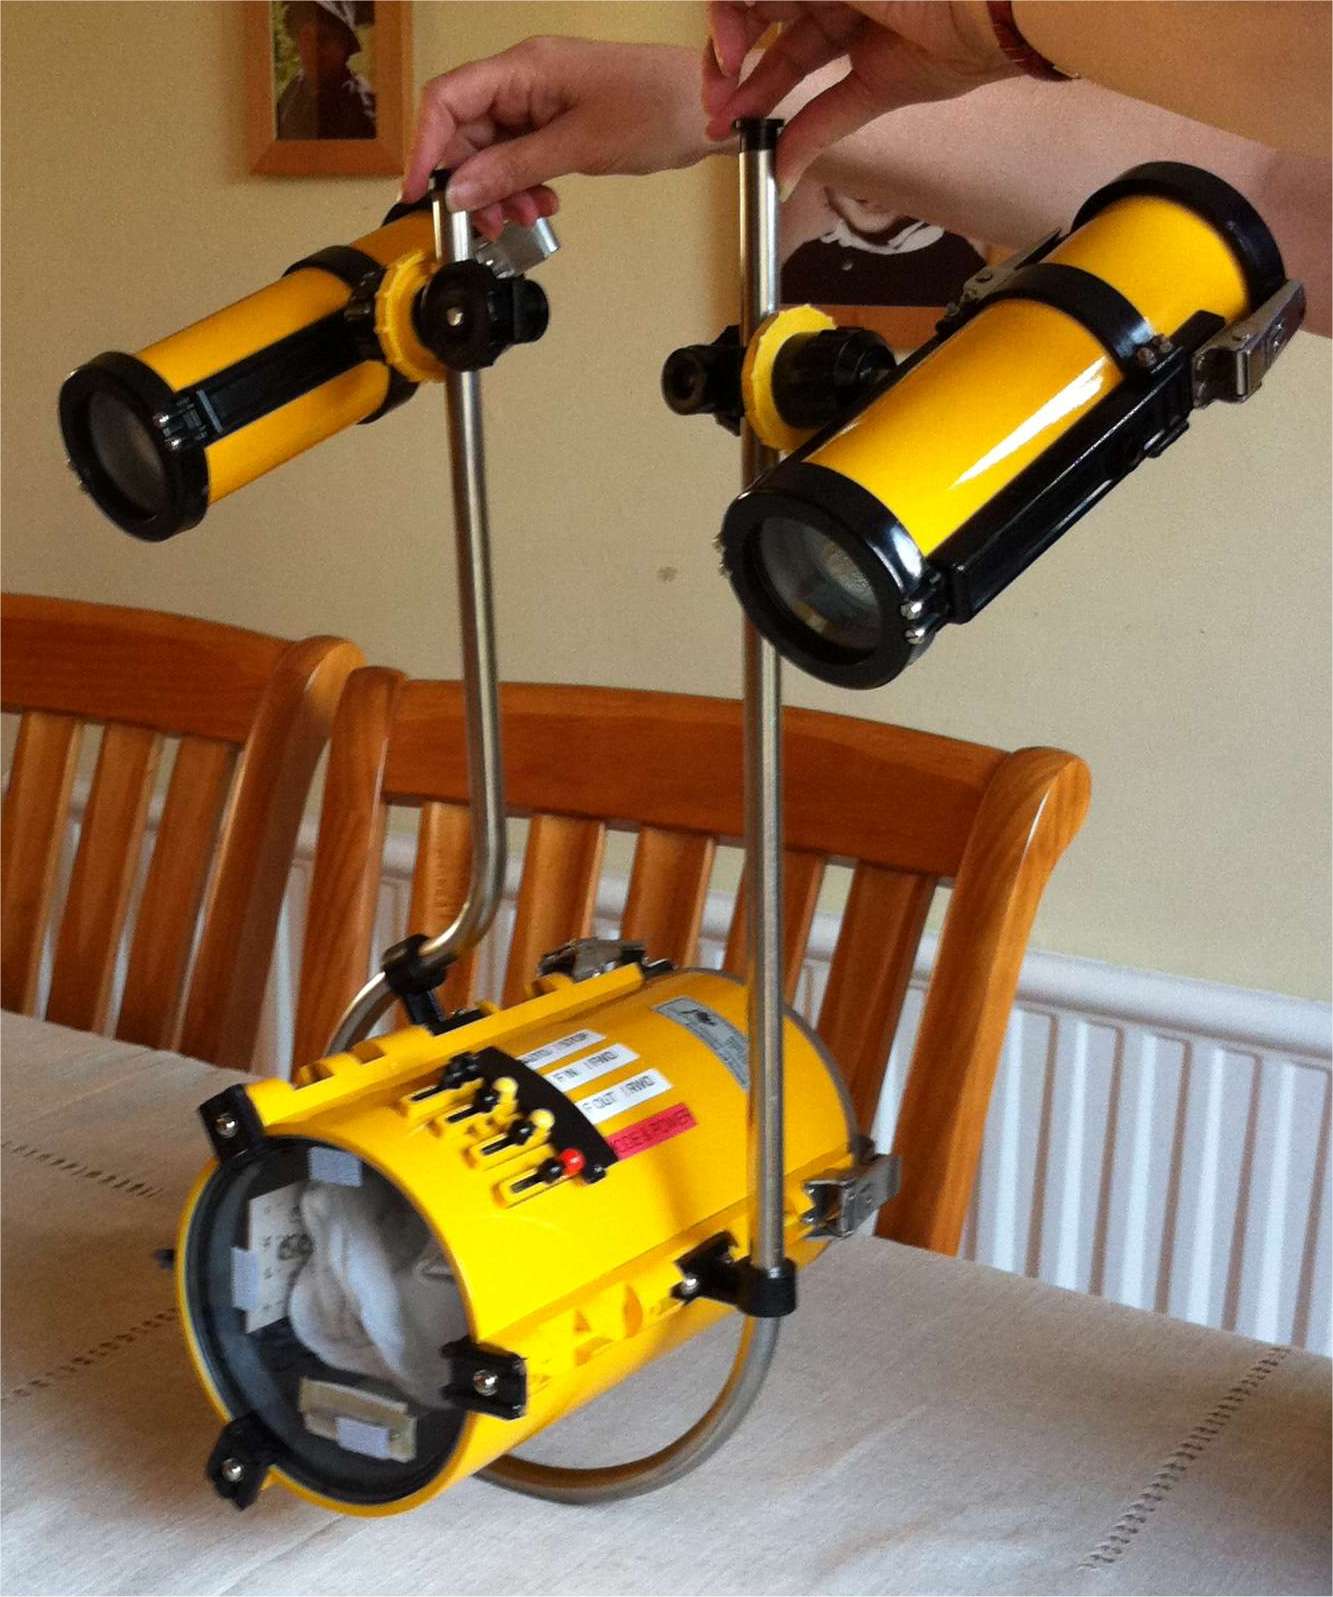
The correction filters turned out to be very good. I use the orange all the time when diving broad. This stopped all the over exposure problems and hardly any post production colour correction. They are highly recommended. The W/A lens The other problem I found was the HD-5050PRO w/A lens requires a 37mm adapter ring to fit on to the Sony HC7. At maximum zoom wide the ring can be seen cutting off the corners of the picture. I needed to zoom in very slightly to clear. Since I have found a better, cheaper W/A lens. A Besel WA37 (www.digitaltoyshop.com) are two lenses, a macro and a wide angle combined. It fits directly to the camera and is smaller. The Magnification factor is 0.45x, better than the Raynox at 0.5x and the cost just €49.99. The lights I decided in the end to purchase a second lamp from Birchly. By overlamping the beams I can get a nice spread of light for the W/A shot. So my final camera rig looks like this:
|